Traps
Traps make Orcs Must Die 2 the game that it is. From poison-spreading floor spikes to giant swinging maces, traps ensure that, in Orcs Must Die 2, orcs are dying by the cart load. Although traps make killing orcs much simpler in many cases, having traps does not ensure victory. There are good trap combinations and there are bad trap combinations. As the player, it is up to you to develop your own personal style. OMD2 Guide provides the information you need to create combinations of traps, weapons, trinkets, and strategy to dominate the leaderboard and maybe impress that special someone? Check back often to see personal spellbook recommendations from Orcs Must Die 2 Guide and from the pros online.
The Table below contains every trap available in Orcs Must Die 2 with each traps’ associated cost, upgrade cost, unique features, and special upgrades.
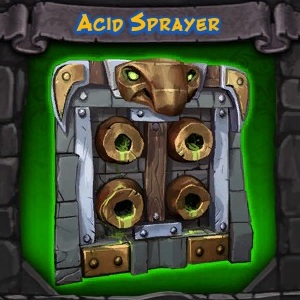
Acid Sprayer*:
Sprays acid when enemies pass by; resets after firing
Wall Trap
Upgrade (3, 6, 13): Acid deals additional damage
Unique 1 (5): Acid shoots out further
Unique 2 (5): Acid briefly slows targets
*Sorceress Only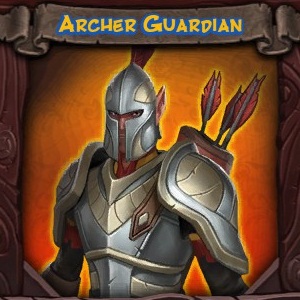
Archer Guardian:
Fires arrows at distant enemies
Guardian
Upgrade (2, 5, 11): Cost to place 650, 575, 500
Unique 1 (5): Arrows sometimes sets targets on fire
Unique 2 (5): Archers regenerate health
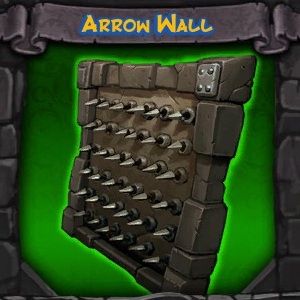
Arrow Wall*:
Fires a volley of arrows at enemies that pass; resets after firing
Wall Trap
Upgrade (3, 6, 13): Arrows do additional damage
Unique 1 (5): Arrows sometimes set targets on fire
Unique 2 (5): Arrows sometimes chill enemies, reducing their movement speed
Special 1 (11): Arrow Walls can now be placed on ceilings
*War Mage Only
Details:
Trigger Range: 3 squares
Attack Range: 8 Squares
Fires 36 arrows total-4 groups of 9 randomly distributed
Arrows can be blocked
Light enemies occasionally sent flying
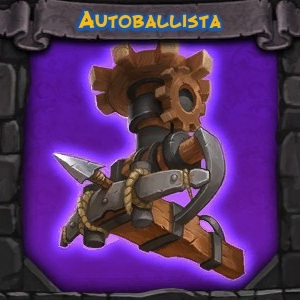
Autoballista (Cost: 13):
Automatically attacks the enemy; limited arc of fire
Ceiling Trap
Upgrade (3, 7, 15): Autoballista fires faster
Unique 1 (6): Autoballista attack briefly stuns enemies
Unique 2 (6): Autoballista range increased
Special (12): Autoballista can now be placed on walls
Details:
Attack Range: ~11-12 sq. (upgraded)
Fire rate: 1 shot/10 seconds (upgraded)
1/4 of space normal traps use
Counts towards guardian limit (Limit: 25)
Cannot die
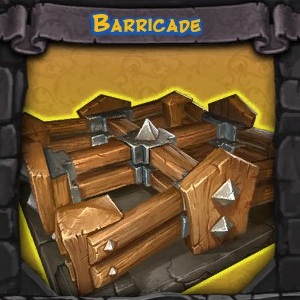
Barricade:
Obstacle that blocks the enemy’s path
Floor Trap
Upgrade (3, 6, 13): Cost reduced to 800, 700, 600
Unique 1 (5): Barricades take reduced damage from attacks
Unique 2 (5): Barricades self-repair shortly after taking damage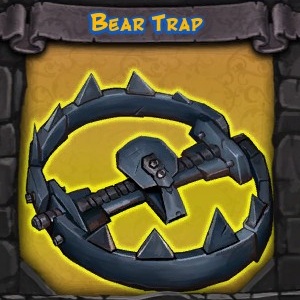
Bear Trap:
Stuns and damages an enemy; breaks when triggered
Floor Trap
Upgrade (2, 6, 12): Bear Trap damage increased
Unique 1 (5): Bear trap freezes targets instead of stunning them
Unique 2 (5): Bear trap sets targets on fire instead of stunning them
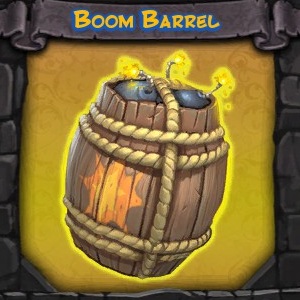
Boom Barrel (Cost: 3):
Blows up when damaged
Floor Trap
Upgrade (2, 5, 10): Explosion damage increased
Unique 1 (4): Boom barrels cost reduced to 150
Unique 2 (4): Increases explosion radius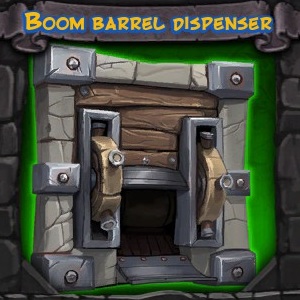
Boom Barrel Dispenser:
Automatically creates boom barrels
Wall Trap
Upgrade (3, 7, 15): Spawns boom barrels faster
Unique 1 (6): Spawned boom barrels will automatically explode when near enemies
Unique 2 (6): Spawned boom barrels also get all boom barrel upgrades
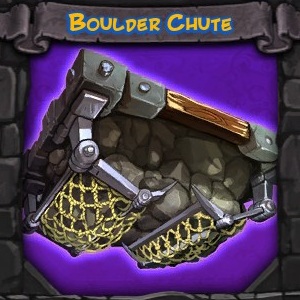
Boulder Chute:
Shoot to drop boulders on enemies; resets after firing
Ceiling Trap
Upgrade (3, 7, 14): Boulder chute reset time reduced
Unique 1 (6): Boulder chutes sometimes drop coins
Unique 2 (6): Boulder chutes sometimes drop bombs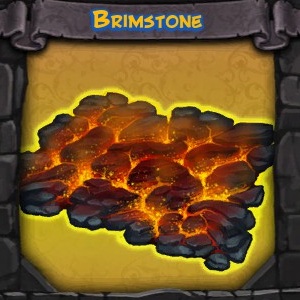
Brimstone (Cost: 7):
Burns enemies; fades out after doing damage; recharges over time
Floor Trap
Upgrade (2, 6, 12): Burns 3, 4, 5 mobs before running out of heat
Unique 1 (5): Brimstone heats up faster
Unique 2 (5): Enemies set on fire burn longer
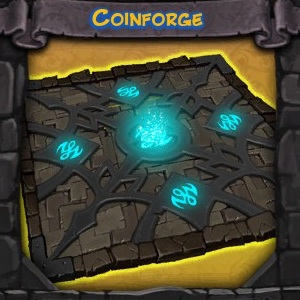
Coinforge (Cost: 5):
Enemies that die on a coinforge drop more coins
Floor Trap
Upgrade (2, 5, 11): Enemies that die on the Coinforge are worth more coin
Unique 1 (5): Coinforge effect persists briefly after enemies leave the Coinforge
Unique 2 (5): Enemies affected by the Coinforge take additional damage
Decoy (Cost: 11):
Looks oddly like a war mage; explodes if destroyed by enemies
Floor Trap
Upgrade (3, 7, 15): Decoy health increased
Unique 1 (6): Decoy will reappear a short time after being destroyed, but no longer explodes
Unique 2 (6): Enemies that attack the decoy are chilled and sometimes frozen
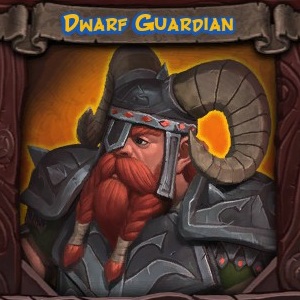
Dwarf Guardian:
Throws explosive bombs at enemies
Guardian
Upgrade (3, 6, 13): Dwarf attacks do increased damage
Unique 1 (5): Dwarf bombs sometimes cause targets to briefly bleed
Unique 2 (5): Dwarf melee attacks sometimes knock back foes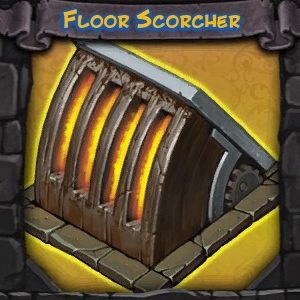
Floor Scorcher (Cost: 16):
Flips up and burns groups of enemies and throws small mobs a short distance
Floor Trap
Upgrade (3, 7, 15): Floor Scorcher Damage Increased
Unique 1 (6): Floor Scorcher burns targets longer
Unique 2 (6): Flames cover a larger arc
Special 1 (13): Floor Scorcher can now be placed on walls
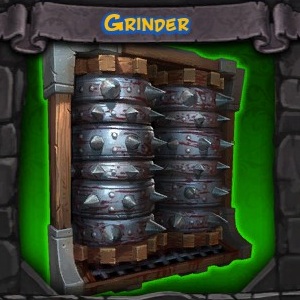
Grinder (Cost: 12):
Sucks in enemies that get too close; runs constantly until it jams
Wall Trap
Upgrade (3, 7, 15): Increased damage; clears jams faster
Unique 1 (6): Grinder unjams much more quickly
Unique 2 (6): Grinder sometimes makes monsters bleed for a short time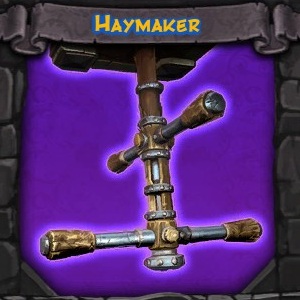
Haymaker:
Spins and knocks around enemies; resets after firing
Ceiling Trap
Upgrade (3, 6, 13): Haymaker deals more damage
Unique 1 (5): Haymaker throws enemies with more force
Unique 2 (5): Haymaker sometimes stuns heavier mobs it can’t throw
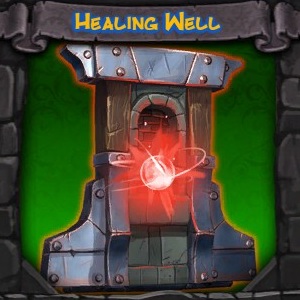
Healing Well (Cost: 12):
Restores player health; takes time to recharge
Wall Trap
Upgrade(3, 7, 15): Additional stored health
Unique 1 (6): Healing Well cost reduced to 400
Unique 2 (6): Healing Well recharges more quickly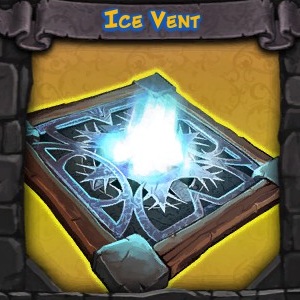
Ice Vent*:
Freezes enemies; resets after firing
Floor Trap
Upgrade (3, 6, 13): Ice Vent reset time reduced
Unique 1 (5): Ice Vent freeze lasts longer
Unique 2 (5): Enemies become chilled and move slowly for a time after freeze effect is broken
Special 1 (11): Ice Vent can now be placed on ceiling
*Sorceress Only

Mana Well (Cost: 12):
Restores player mana; Takes time to recharge
Wall Trap
Upgrade(3, 7, 15): Additional stored mana
Unique 1 (6): Mana Well cost reduced to 1250
Unique 2 (6): Mana Well recharges more quickly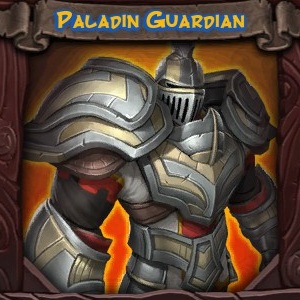
Paladin Guardian (Cost: 12):
Sturdy melee guardians
Guardian
Upgrade (3, 7, 15): Paladins have more health
Unique 1 (6): Paladin attacks sometimes stun targets
Unique 2 (6): Paladins slowly regenerate health
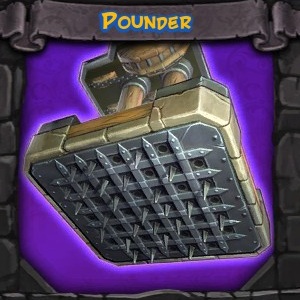
Pounder (Cost: 10):
Smashes enemies; resets after firing
Ceiling Trap
Upgrade (3, 7, 14): Pounder deals more damage
Unique 1 (6): Pounder briefly stuns enemies
Unique 2 (6): Trolls and Ogres struck by the pounder sometimes drop coins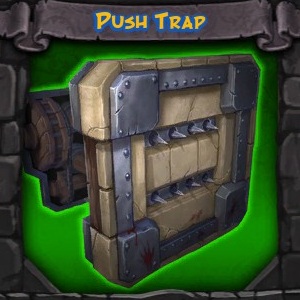
Push Trap (Cost: 8):
Sucks Pushes enemies away from the trap; resets after firing
Wall Trap
Upgrade (2, 6, 13): Push Trap reset time reduced
Unique 1 (5): Pushed enemies are briefly stunned
Unique 2 (5): Push Trap range increased
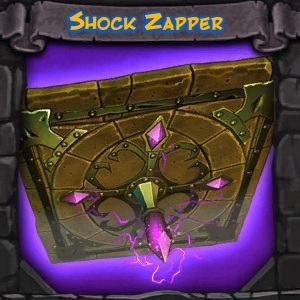
Shock Zapper:
Electricity-flinging turret; adept at frying fliers
Ceiling Trap
Upgrade (3, 7, 15): Shock Zapper holds more charge for zapping enemies
Unique 1 (6): Shock Zapper briefly stuns targets
Unique 2 (6): Shock Zapper chains to an additional target but uses more charge per attack
Special 1 (12): Shock Zapper can now be placed on walls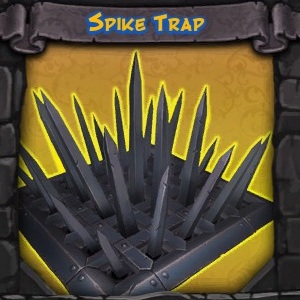
Spike Trap:
Does damage when stepped on; resets after firing
Floor Trap
Upgrade (2, 4, 9): Floor Spikes reset faster
Unique 1 (4): Damaged enemies are briefly slowed
Unique 2 (4): Damaged enemies bleed taking additional damage
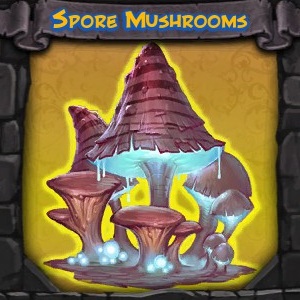
Spore Mushroom (Cost: 15):
Converts the first enemy that steps on it
Floor Trap
Upgrade (3, 8, 17): Controlled enemies have extra health
Unique 1 (7): Spore Mushrooms reset much faster
Unique 2 (7): Kobold Runners converted by spores are extremely dangerous to the enemy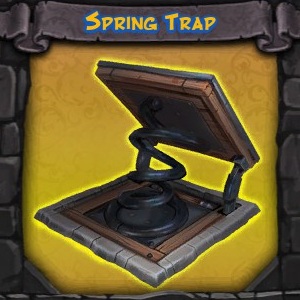
Spring Trap:
Throws enemies; resets after firing
Floor Trap
Upgrade (3, 6, 13): Spring Trap cost reduced to 600, 525, 450
Unique 1 (5): Spring Trap sometimes flips heavier enemies
Unique 2 (5): Spring Trap reset time reduced
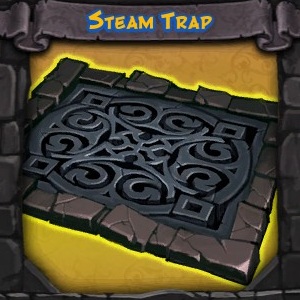
Steam Trap (Cost: 6):
Blasts steam and levitates enemies; resets after firing
Floor Trap
Upgrade (2, 5, 11): Steam Trap cost reduced to 350
Unique 1 (5): Steam Trap chills targets for a time
Unique 2 (5): Steam Trap reset time reduced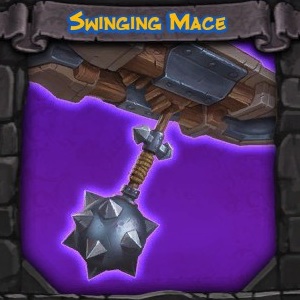
Swinging Mace (Cost: 14):
Smashes into enemies; constantly in motion
Ceiling Trap
Upgrade (3, 8, 16): Swinging Mace damage increased
Unique 1 (5): Swinging Mace swings faster
Unique 2 (5): Swinging Mace stuns enemies it hits
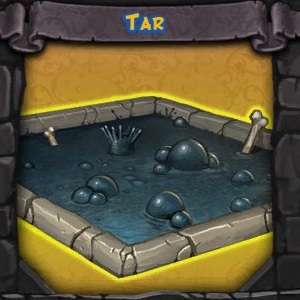
Tar*:
Slows down enemies
Floor Trap
Upgrade (3, 6, 13): Tar Trap cost reduced to 400, 350, 300
Unique 1 (5): Enemies are slowed even more
Unique 2 (5): Tar Trap slowing effect persists briefly after enemies leave the tar
*War Mage Only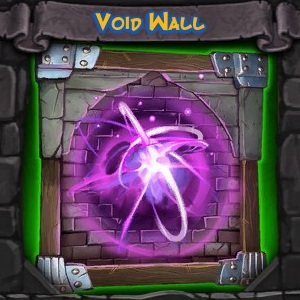
Void Wall:
Anything thrown in dies instantly
Wall Trap
Upgrade (3, 6, 13): Increases coin drop chances
Unique 1 (5): Throwing enemies into the void heals the player
Unique 2 (5): Enemies thrown into the void sometimes return as skeletons to fight for the player
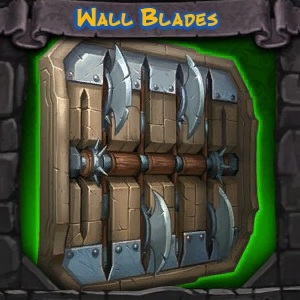
Wall Blades (Cost: 14):
Chops enemies apart; resets after firing
Wall Trap
Upgrade (3, 8, 16): Wall Blades deal increased damage
Unique 1 (6): Wall Blades briefly cause enemies to bleed
Unique 2 (6): Wall Blades reset time reduced

i have a few questions about the traps if thats ok
– does any enemy target barracks ? even if i m not there ?
– when the boom barrel dispencer is placed at a not even ground, does the barrel roll down and does it spawn endless new ones?
– what does “Unique 2 (6): Flames cover a larger arc” at the floor scorcher mean ?? longer range ? higher range ?
– do grinders kill “weak” orcs instant even after endless level 40 where they have tons of hp ? same goes for swinging mace&wallBlades
– it the shock zapper usefull on walls against non-flying enemies or am i better of with the “classic” wall traps ?
– can the spring trap (with the modification) even throw the biggest trolls ? ( the grey ones ) and the biggest elementals ?
– what it the use for steam traps ? do they send the big enemies flying too ?
I heard that the wall blades deal the most damage. I don’t have any real data, but my money is on a fully upgraded grinder, or swinging mace.
Only the kobold sappers go for barricades unless you or a guardian is near them.
Yes, the barrels will roll down ramps/steps and keep spawning even if the previous ones are still there.
The scorcher upgrade means it shoots over a greater angle so gets enemies to the sides more.
Not sure about the rest, I haven’t used them much.